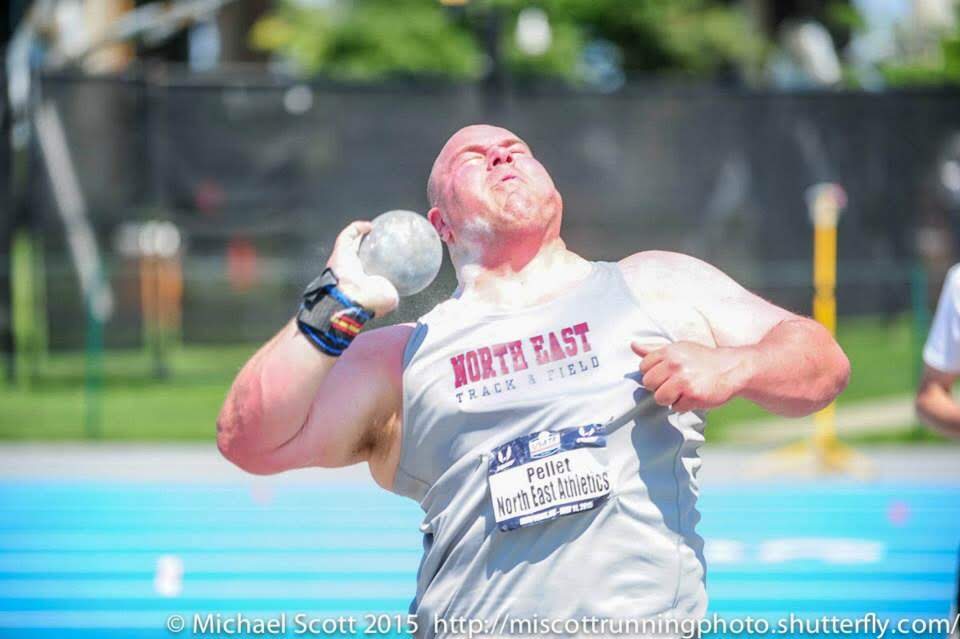
The glide-to-power freeze separates the travel across the circle from the release. It gives the athlete time to evaluate posture, foot placement, balance, and shot position before those details are hidden by a rushed finish.
What this drill develops
Use the drill when a glider stands up too early, reaches with the left leg, lands with the feet too narrow, opens the shoulders before landing, or arrives at the front without enough balance to apply force. The drill should not become a slow-motion competition throw. Its purpose is to organize the movement that makes a powerful finish possible.
- Use an age- and ability-appropriate shot.
- Practice only in an approved circle with a clear sector.
- Keep the shot connected to the neck throughout the drill.
- Do not release the implement during the freeze version.
- A qualified adult controls all repetitions and retrieval.
Starting position
The following directions describe a right-handed thrower; reverse them for a left-handed athlete. Begin at the back of the circle with the athlete facing away from the sector. The shot is secure against the neck, the torso is controlled, and pressure is centered over the bent right leg.
The athlete should feel compact, not collapsed. The back remains long enough to maintain posture, and the head stays neutral rather than lifting to search for the toe board.
How to perform the drill
1. Unseat the hips
Move the hips toward the center of the circle before aggressively extending the left leg. This allows the athlete’s center of mass to begin traveling while the torso remains patient.
2. Drive and recover
Extend the left leg toward the toe board while the right leg moves underneath the body. The action should travel across the circle rather than rise upward. The right foot lands beneath the athlete in a position that can turn.
3. Land the power position
Place the left foot quickly near the front of the circle while keeping the shot back and the shoulders closed. Both feet should land in positions that let the right side continue turning into a firm left side.
4. Freeze and check
Hold the arrival for two seconds. The athlete should be balanced, the shot should remain at the neck, and the torso should not have opened toward the sector. Reset without releasing.
Travel low. Recover the right foot. Land ready to throw.
What the coach should check
- The athlete traveled across the circle without an early vertical jump.
- The right foot landed underneath the body and can rotate.
- The left foot reached the front promptly without overstriding.
- The shot stayed connected to the neck.
- The shoulders remained behind the hips long enough to preserve separation.
- The athlete can hold the landing without stepping or falling.
Common corrections
The athlete pops up
Reduce the speed and shorten the glide. Use “move the hips across” rather than telling the athlete only to stay low. A lower trajectory should come from the direction of force, not from forcing an exaggerated crouch.
The right foot lands too far forward
Ask the athlete to recover the right leg underneath the hips instead of reaching for the middle. A shorter glide that lands in control is more useful than a longer glide that cannot be connected to the finish.
The upper body opens in the air
Use a no-implement rehearsal and ask the athlete to keep the back or throwing shoulder facing away from the sector until the feet are landing. Do not add a release until the athlete can preserve the shot position.
Suggested practice dose
Complete 2–3 sets of 3–4 controlled freezes with full reset between repetitions. When the athlete can land the same usable position repeatedly, follow with 4–6 glide throws at approximately 60–75% effort. Keep the same primary cue during both parts.
A good glide does not simply move the athlete to the front of the circle. It delivers the athlete into a position from which the ground, hips, trunk, and arm can work in sequence. Own the arrival before demanding a faster release.